Generating SNMP Commands
MIB Viewer can generate a ready-to-run snmpget or snmpwalk command directly from an object you're looking at. This is available in two places - an OID page, and a MIB's object table - and works slightly differently in each. This guide covers both, plus how settings carry over between them, what SNMPv3 needs, and the CMD button shortcut in a MIB's object table.
On an OID page
Every OID page has a "Generate SNMP Command" button below the OID.
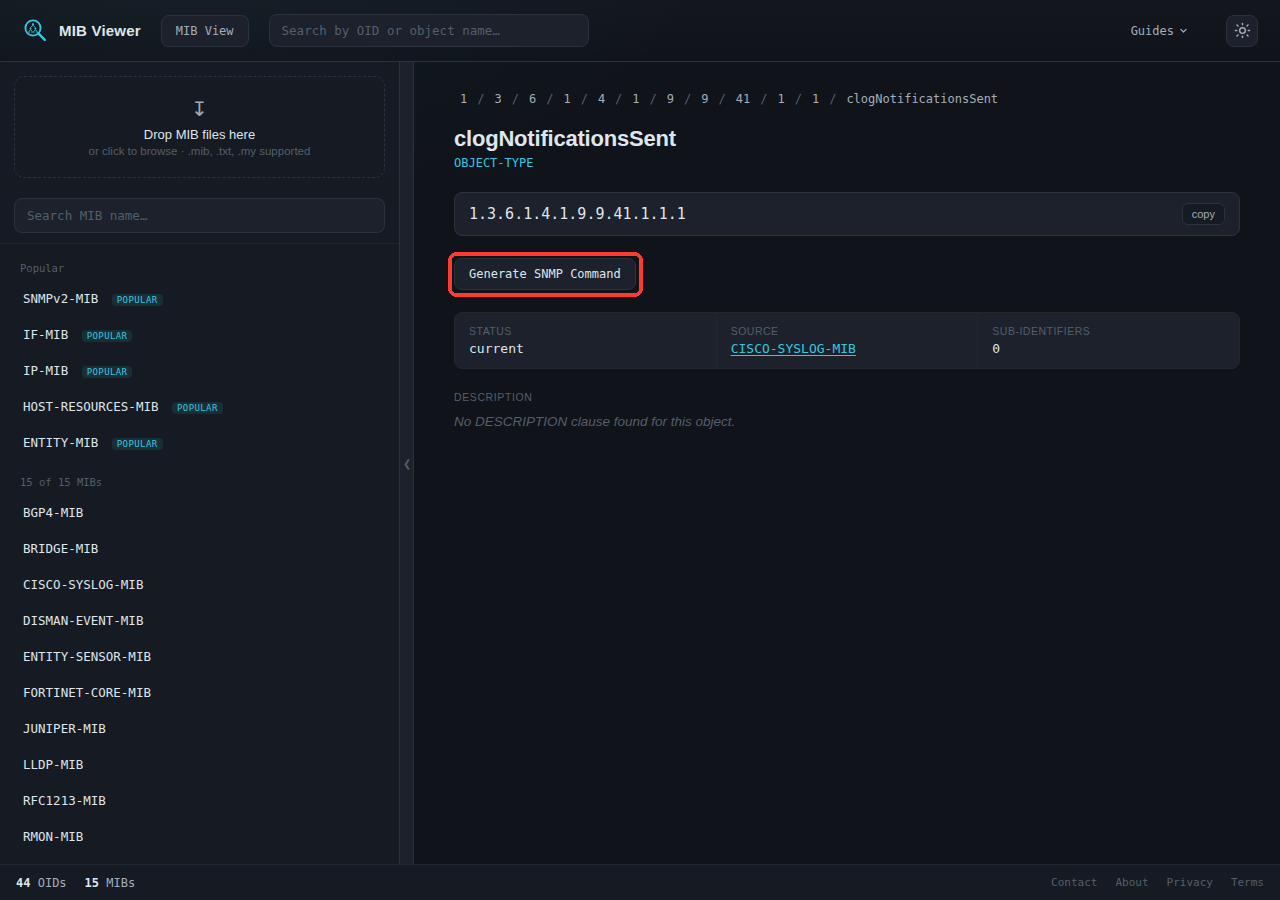
Clicking it opens a panel with connection fields and two commands: one to GET the object, one to WALK the subtree from it.
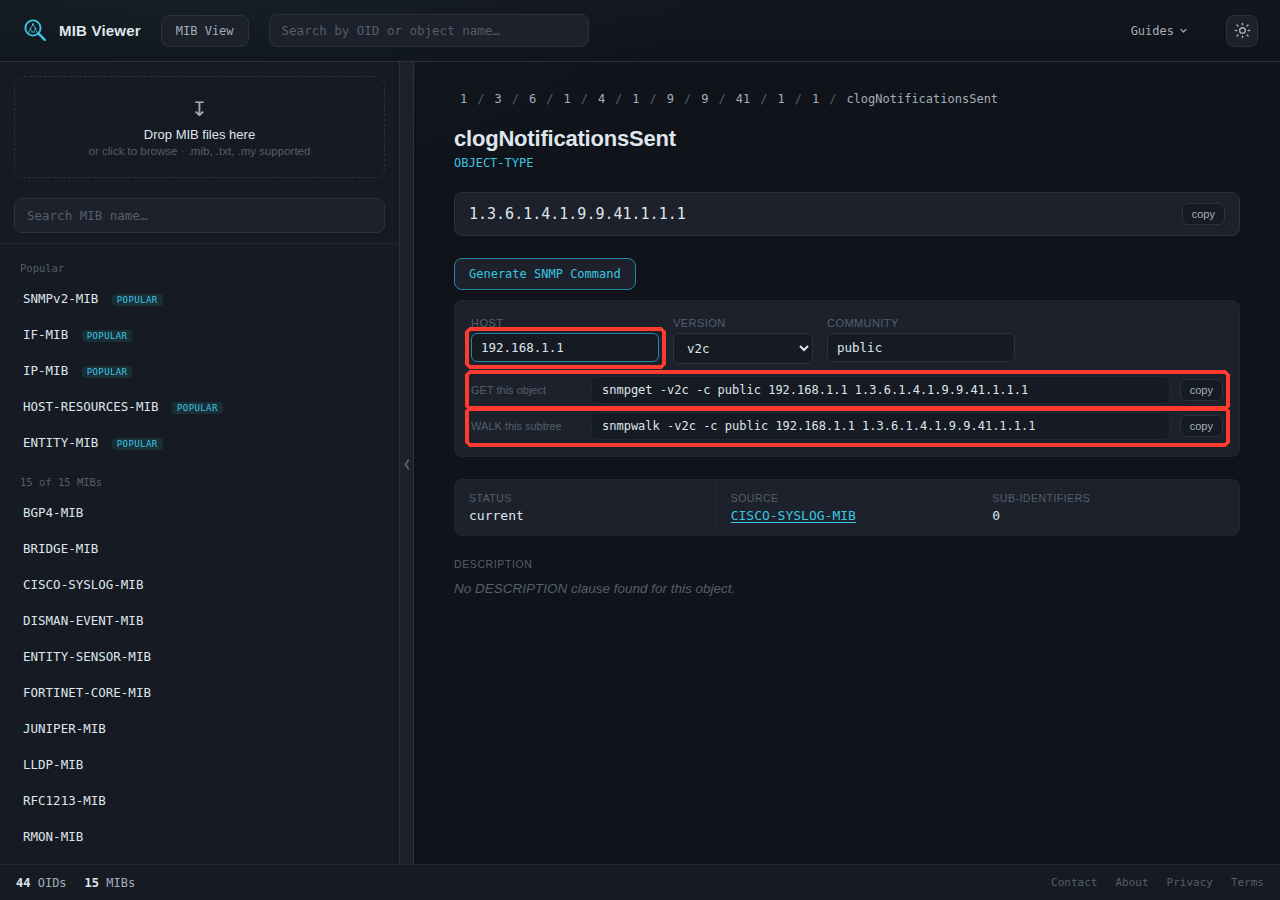
Commands update live as you type. Host defaults to a <host> placeholder until you enter one.
Switching to SNMPv3
Selecting v3 replaces the Community field with Username, and adds a note about credentials the commands can't fill in for you.
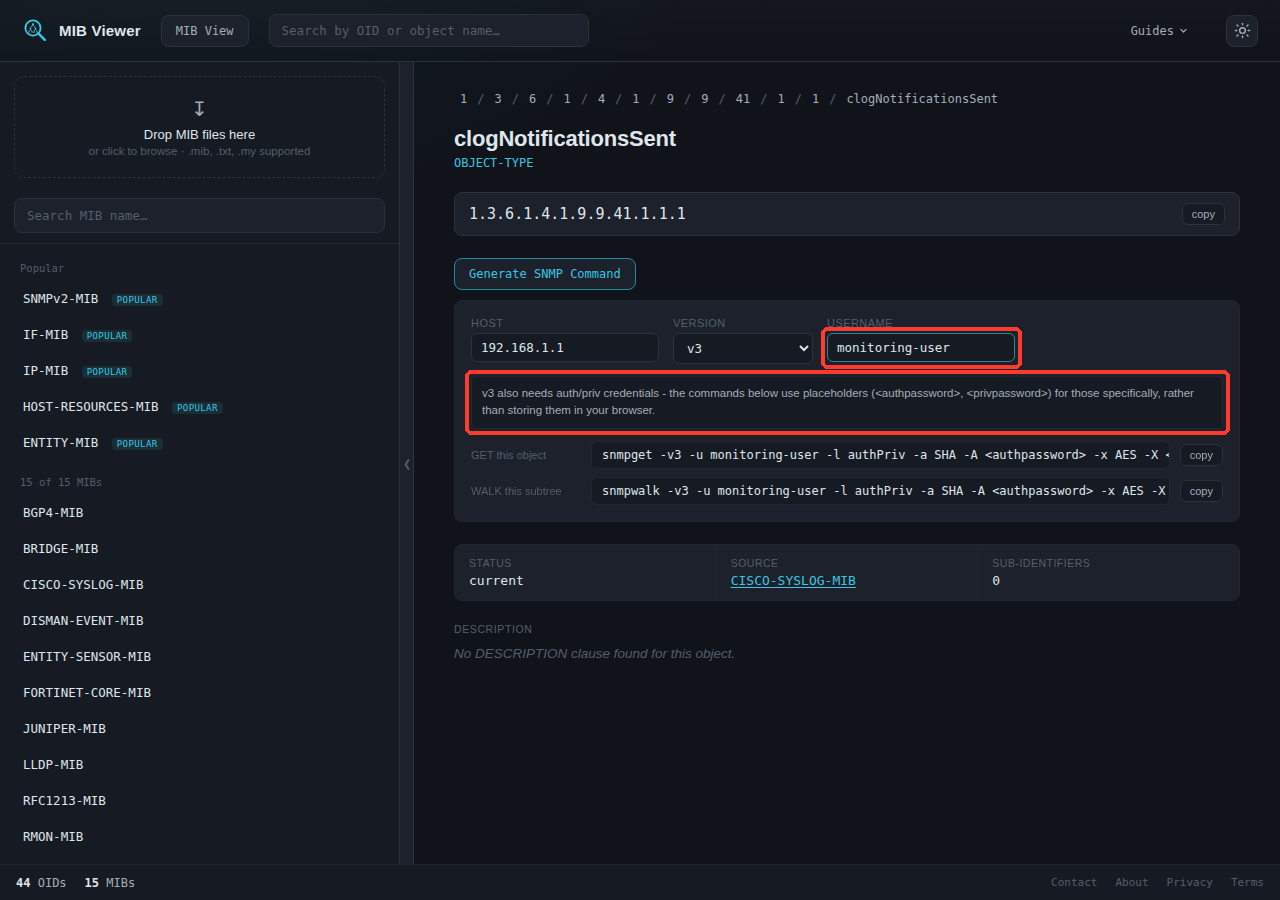
authPriv - left as placeholders rather than stored in your browser.An auth/priv password is a real secret, so it isn't requested or stored. The commands use -a SHA -x AES by default (see the SNMP Fundamentals guide for why), with <authpassword> and <privpassword> left for you to fill in.
On a MIB's object table
The same feature is available at the MIB level, next to Download, for any object in that MIB.
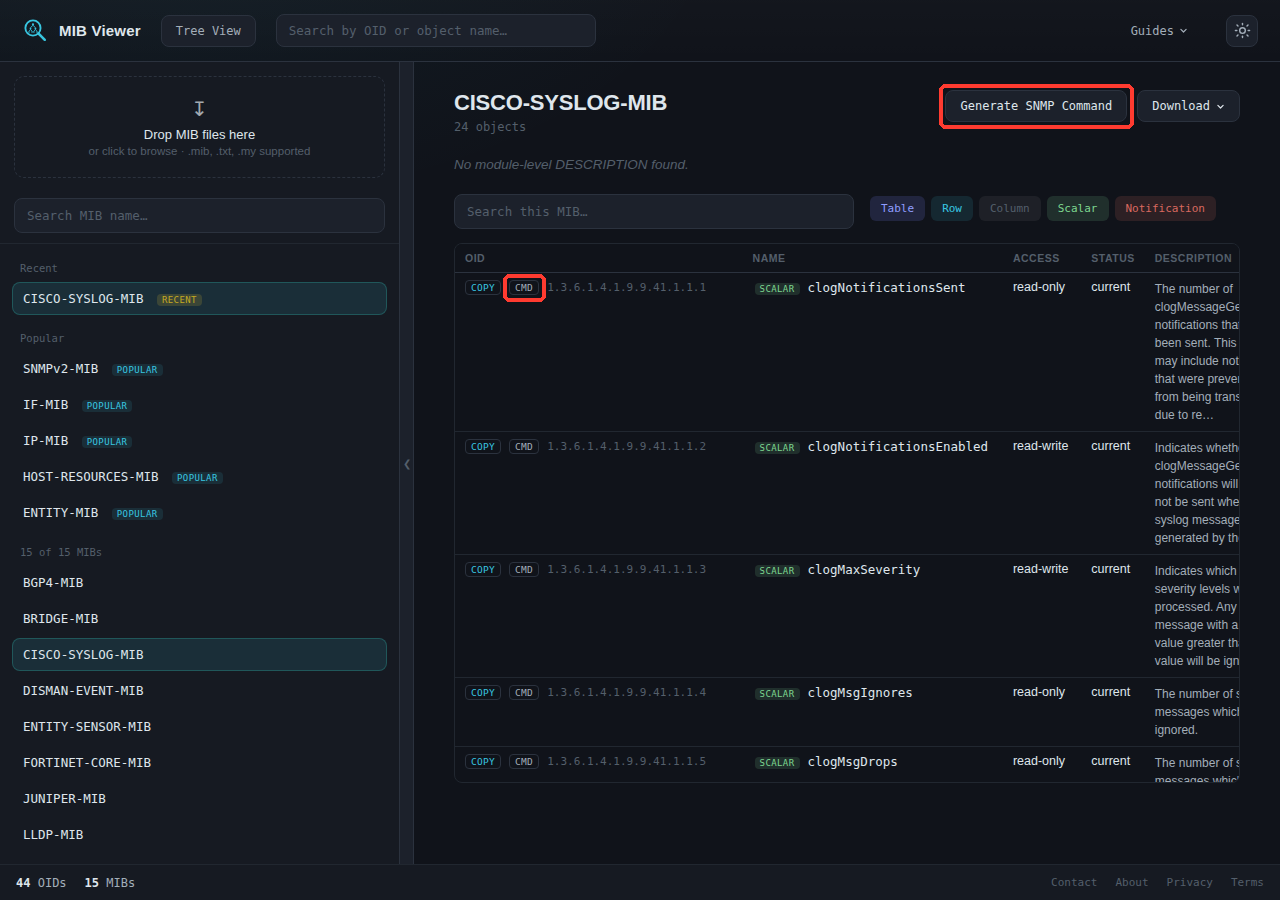
Opening it shows a mode toggle: Specific OID for one object, or Whole MIB to walk the module. Specific OID mode adds an object picker above the same fields as the OID page:
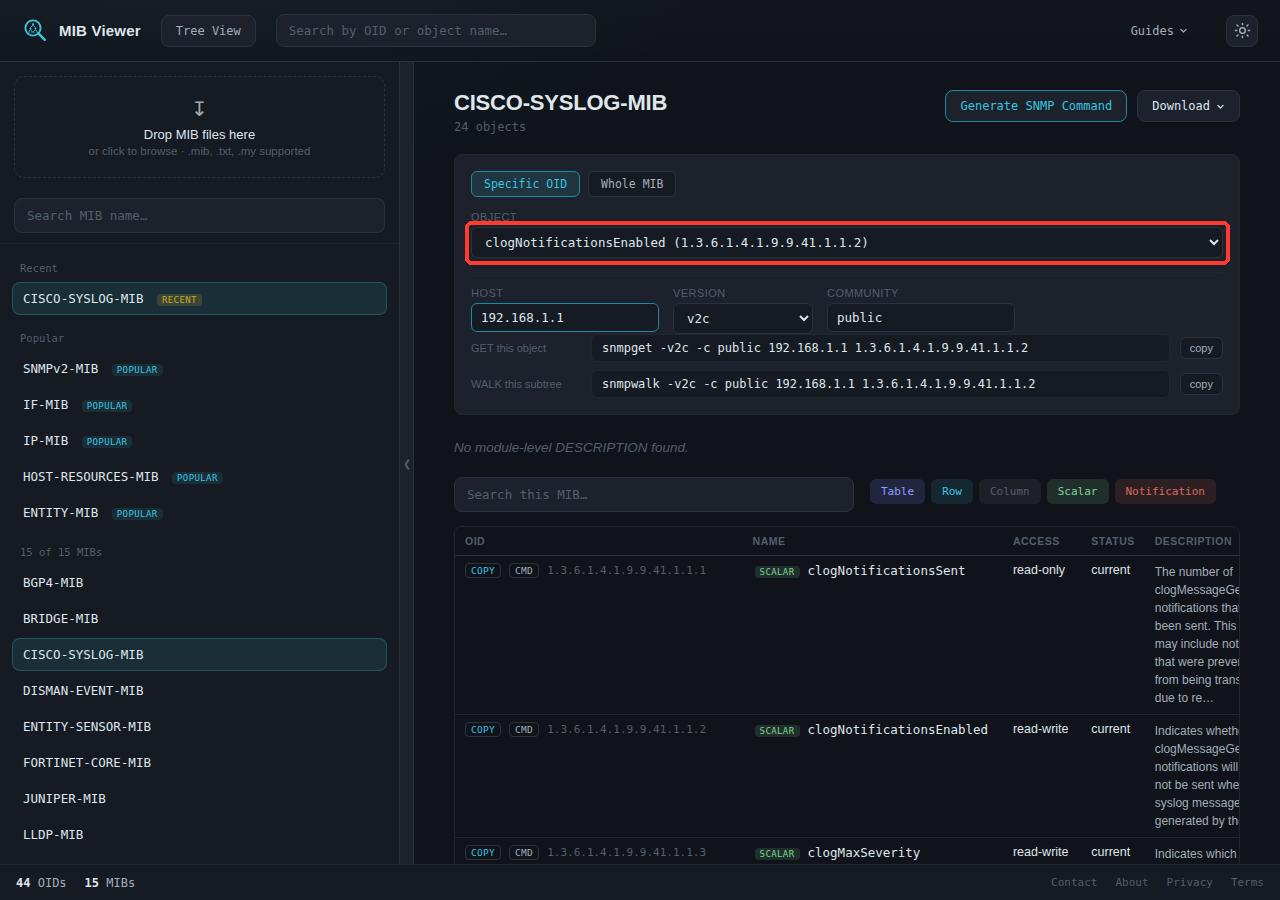
Whole MIB mode replaces the picker with a MIB directory field and generates one command that walks the module's entire namespace:
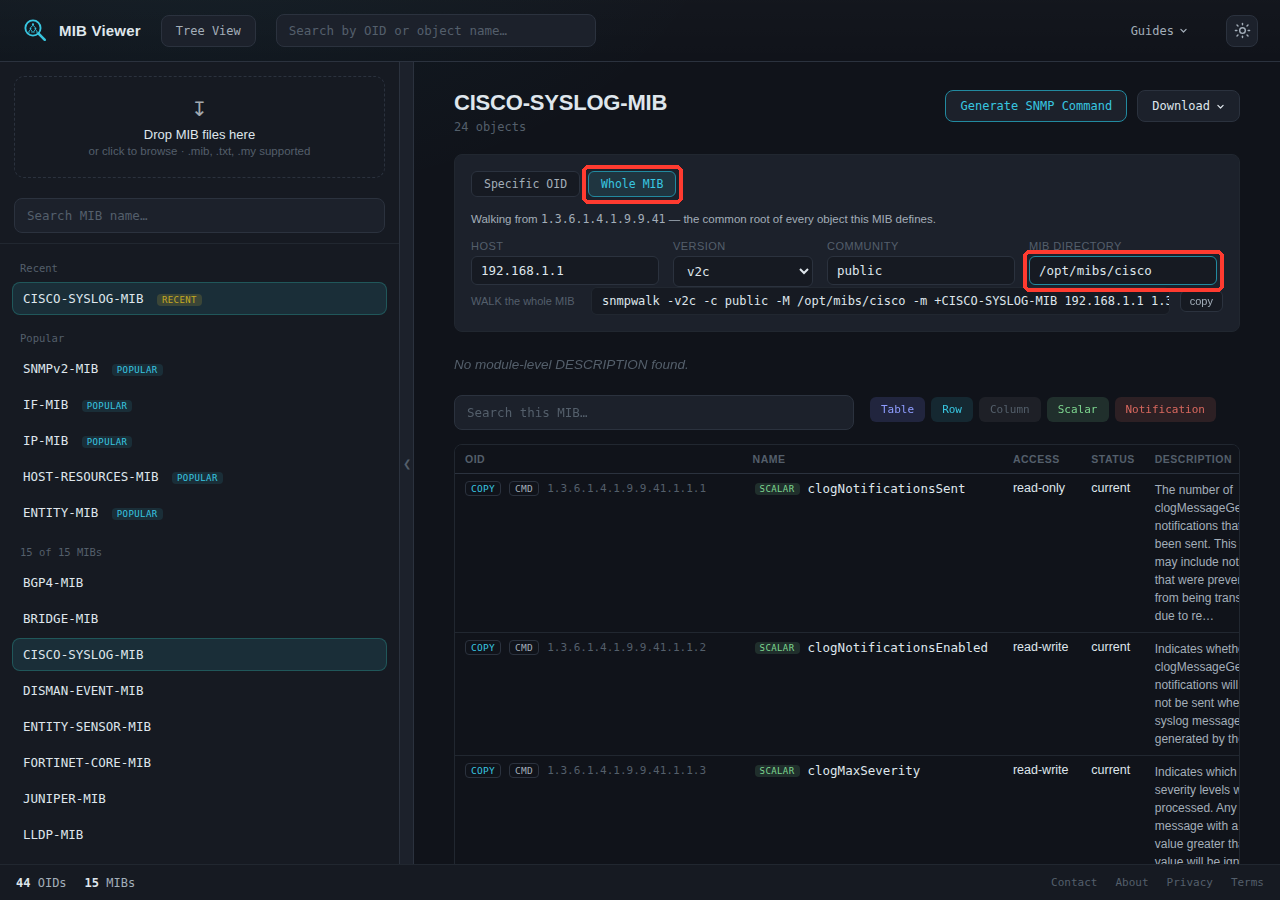
-M to point at the MIB file's location and -m to load it.Without -M/-m pointing at a real copy of the MIB, the walk still works, but output prints as numeric OIDs instead of names. Whole MIB mode only generates a WALK - a single GET for an entire module isn't a coherent request the way GET-one-object is.
The CMD button: jumping straight to one object
The CMD button next to Copy in every row skips the object picker and lands directly on that row:
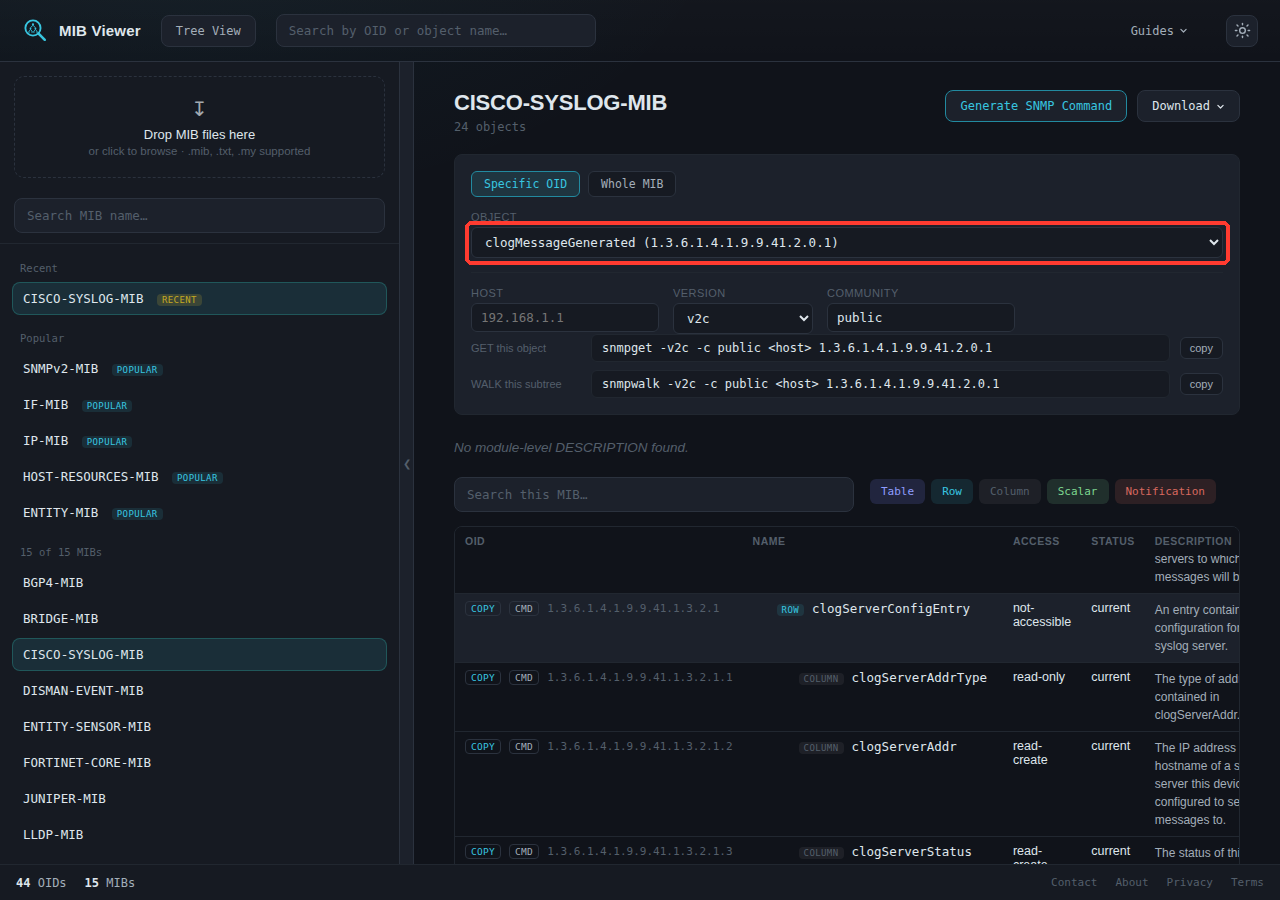
Settings carry over between both locations
Host, version, community/username, and the MIB directory field are stored in your browser and shared across every instance of this feature.
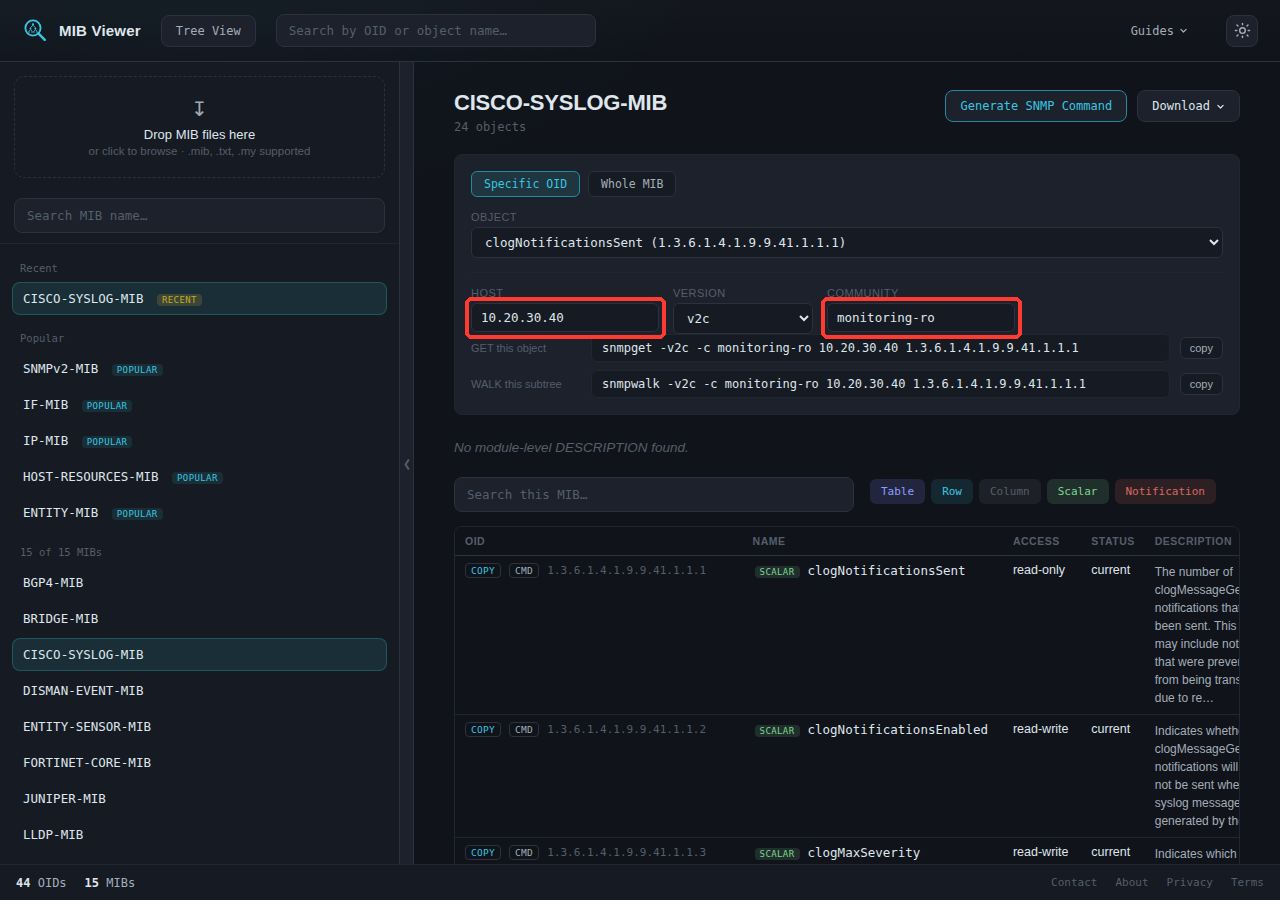
This is stored locally in your browser, not sent anywhere - it saves retyping the same host and credentials for each object.